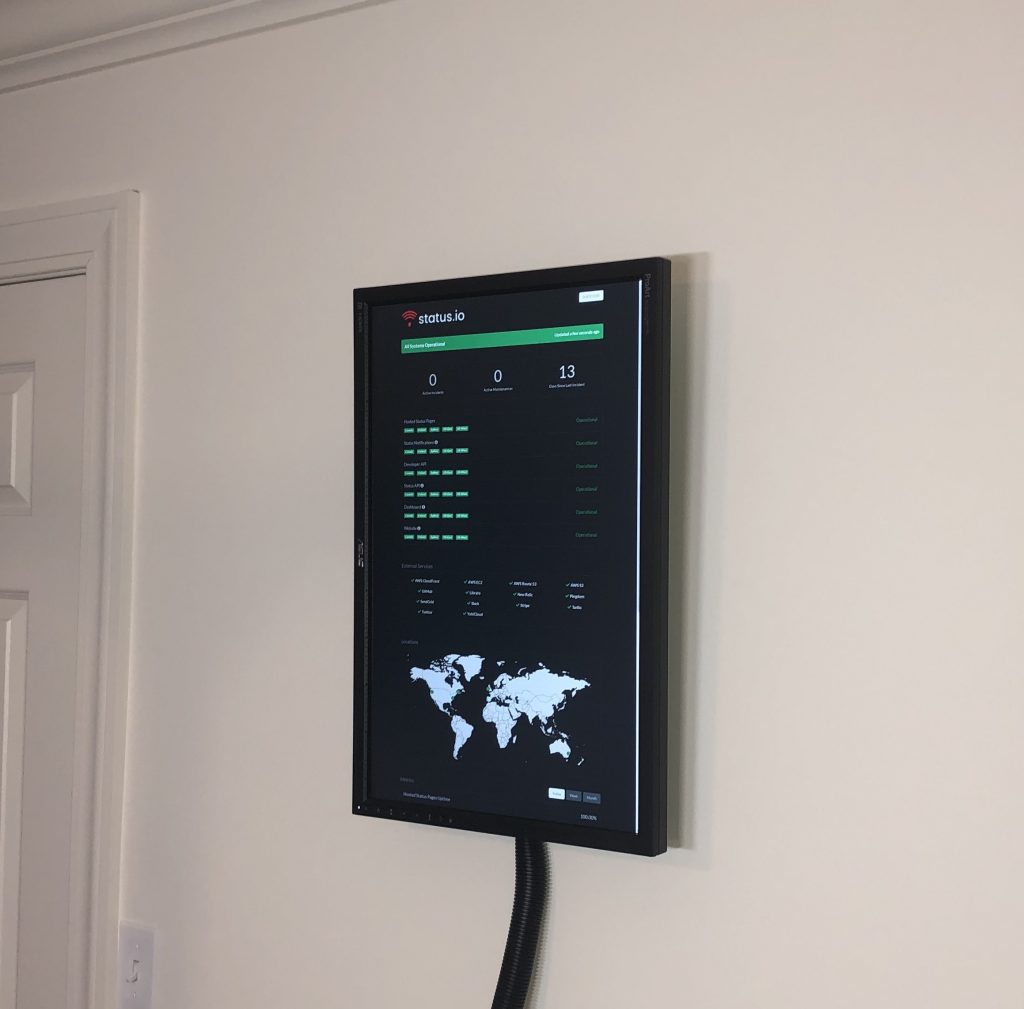
Your status page is already awesome, now you just need to set up an always-on wall-mounted display.
Imagine all of the places you can put this thing! In your data center, in your break room, the cafeteria, conference rooms, even your bedroom if you’re that obsessive over your system.
Employees can glance at it and instantly know the state of the system. Clients will be wow’ed. Basically, everyone will love it.
The Hardware
We chose the Raspberry Pi to power our display since it’s simple, inexpensive and small enough to hide.
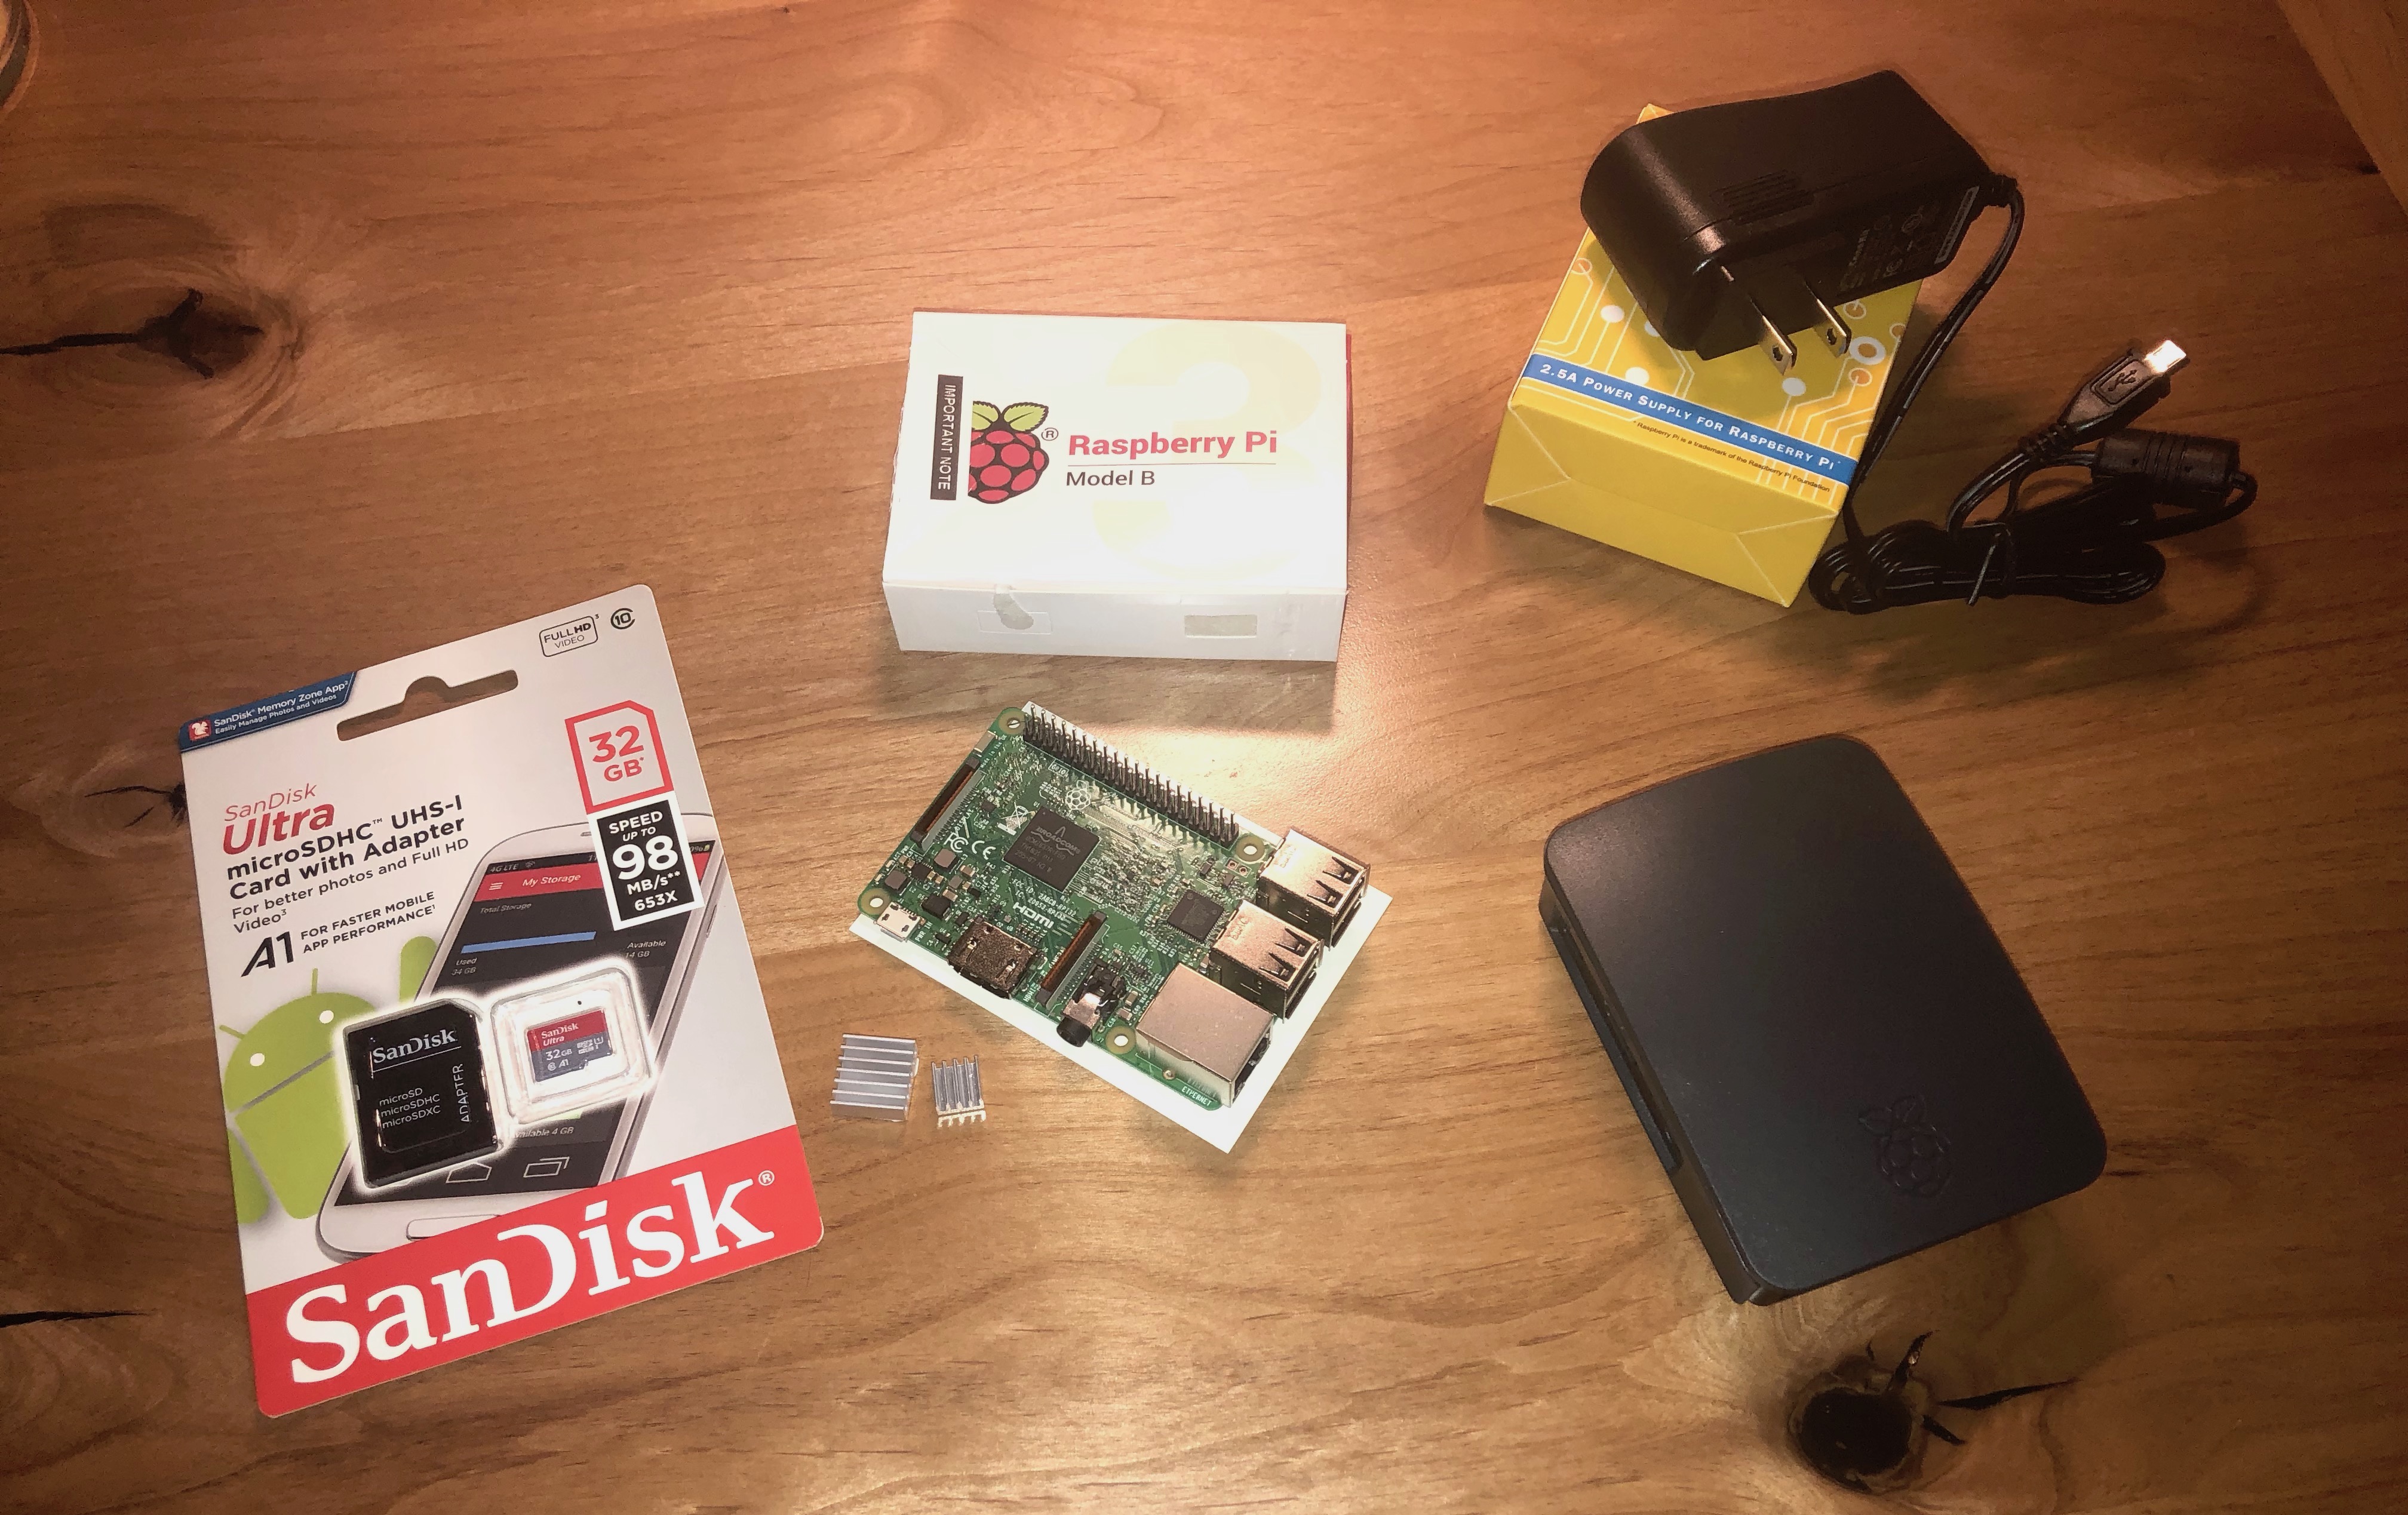
Here’s a list of the exact parts we used. Feel free to use whatever you prefer, however, your results may vary.
- Raspberry Pi 3 Model B with 2.5A USB Power Supply
- Raspberry Pi 3 Case
- SanDisk Ultra 32GB microSDHC Card and Adapter
- ASUS PA248Q 24″ 1920×1200 IPS HDMI Monitor
- VideoSecu ML12B Monitor Wall Mount
- Velcro
- Optional: Ethernet Cable (if not using a wireless network)
During set up you’ll also need a computer with SD card reader. In addition, a USB keyboard and mouse are required to configure the Raspberry Pi.
The Software
- Raspbian is an operating system based on Debian and optimized for the Raspberry Pi hardware
- NOOBS is an operating system installer
- SD Card Formatter is used to format the SD card
The Build
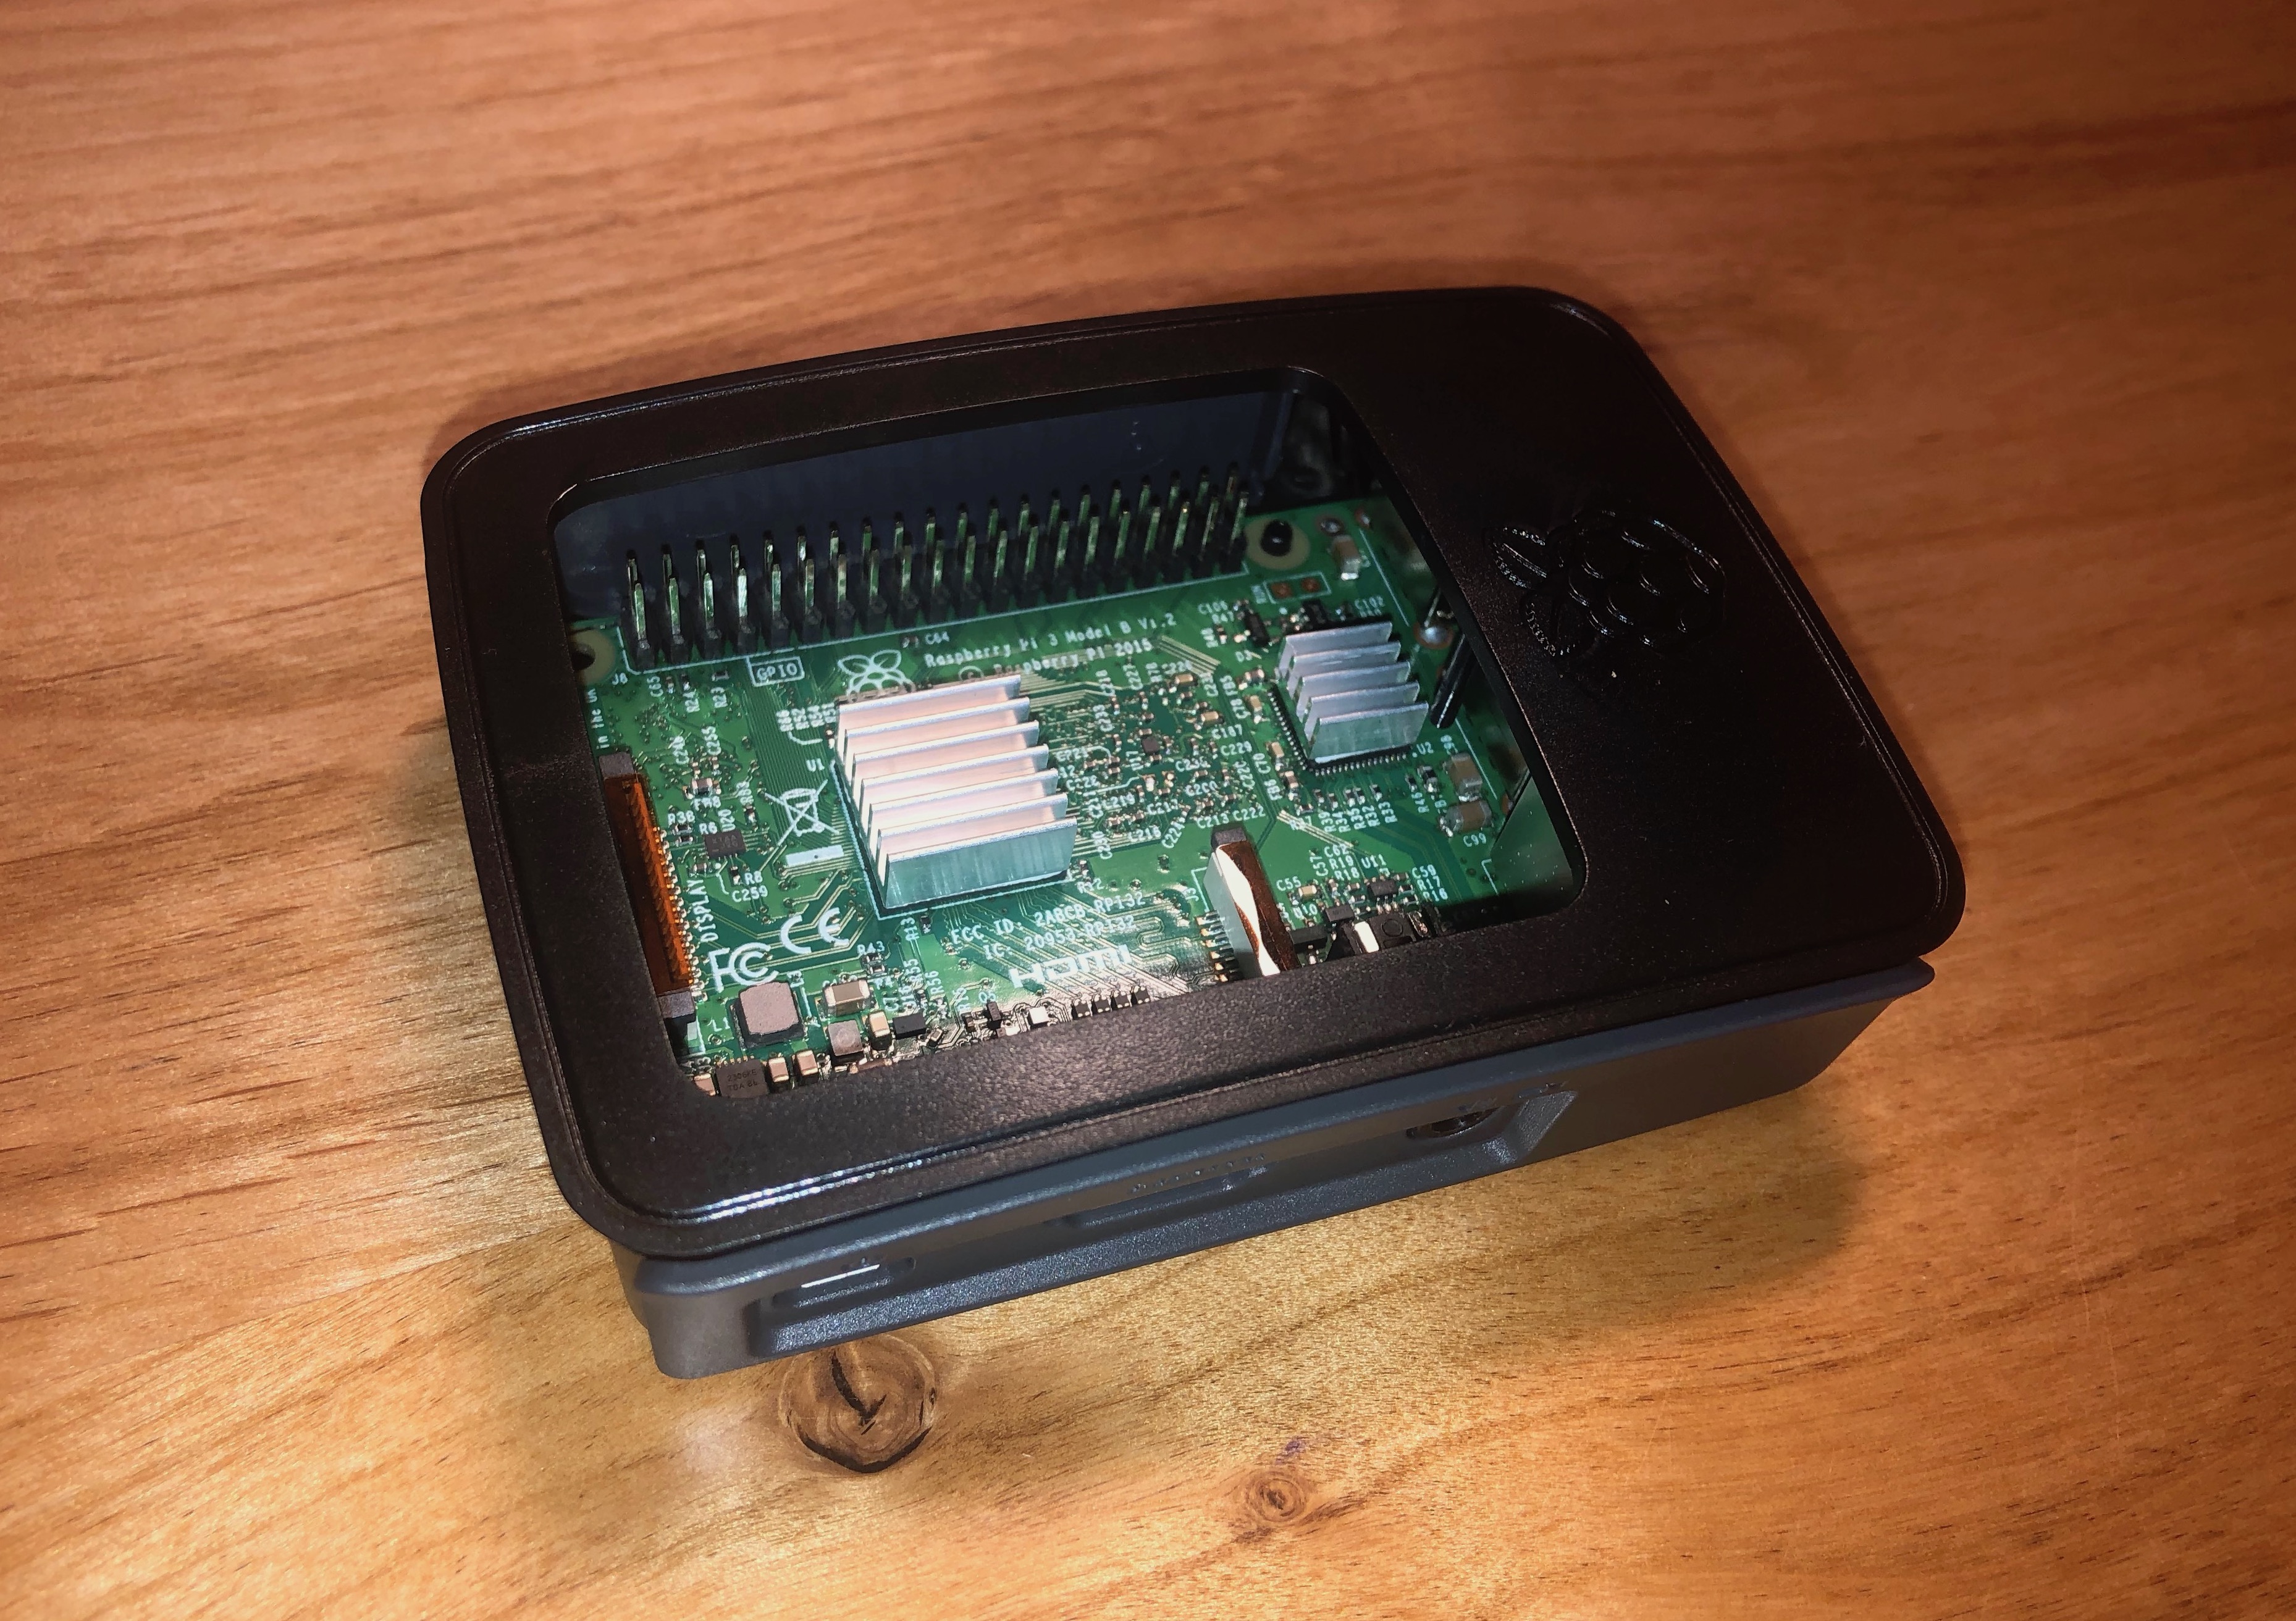
Prep the Raspberry Pi hardware
Attach the heat sinks and install the Raspberry Pi into the case. It snaps together, no tools required.
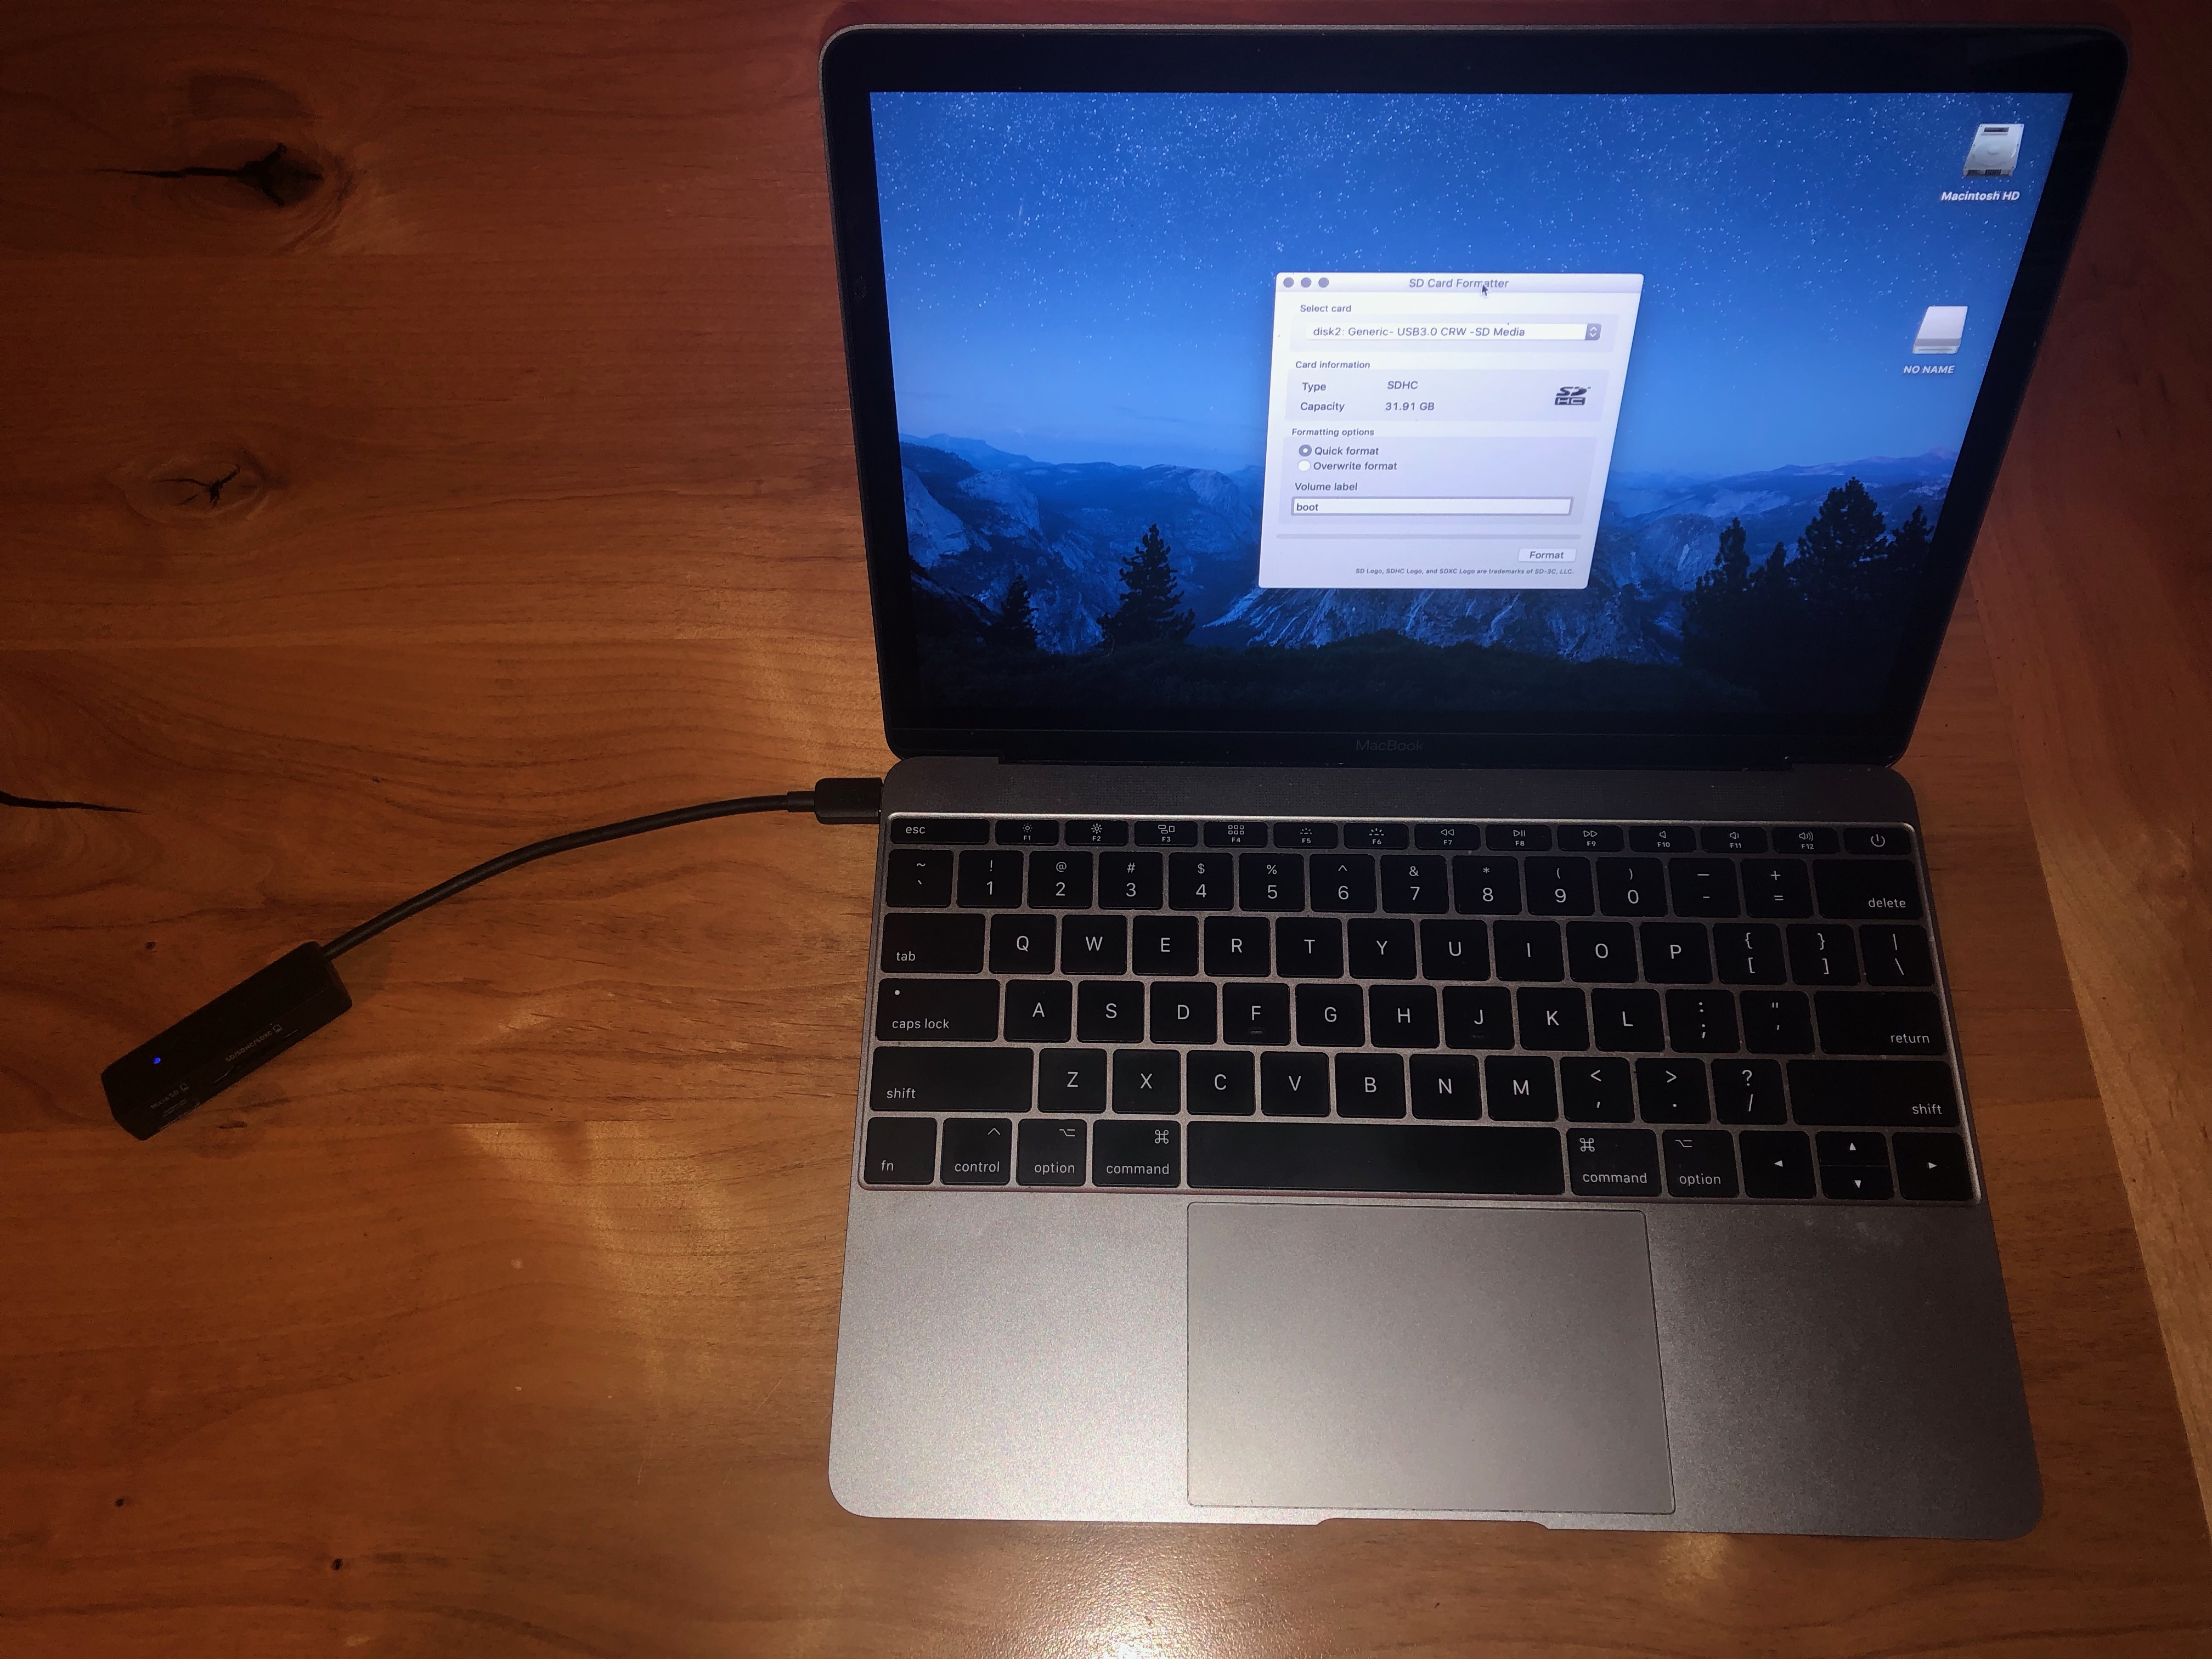
Prep the SD card
- Download NOOBS
- Download and install SD Card Formatter
- Insert SD card into your computer and format using SD Card Formatter
- Extract the NOOBS archive and copy the contents to the SD card
Install Raspbian
- Insert the SD card into the Raspberry Pi
- Boot NOOBS and install Raspbian (this will take some time)
- After rebooting, the set up wizard will walk you through choosing the location, setting a password and optionally configuring a wireless network connection
- Once Raspbian is fully loaded and you’re booted to the GUI desktop, fire up the terminal so we can get down to business
We’re building a kiosk, so we need to disable the mouse cursor and screen blanking. Also, it should boot automatically into Chromium and load our status page.
sudo apt-get install unclutter
sudo vi /etc/xdg/lxsession/LXDE-pi/autostart
@xscreensaver -no-splash # comment to disable screensaver
@xset s off
@xset -dpms
@xset s noblank
@unclutter -idle 0
@chromium-browser –incognito –kiosk https://status.status.io
Enable portrait mode
sudo vi /boot/config.txt
display_rotate=3
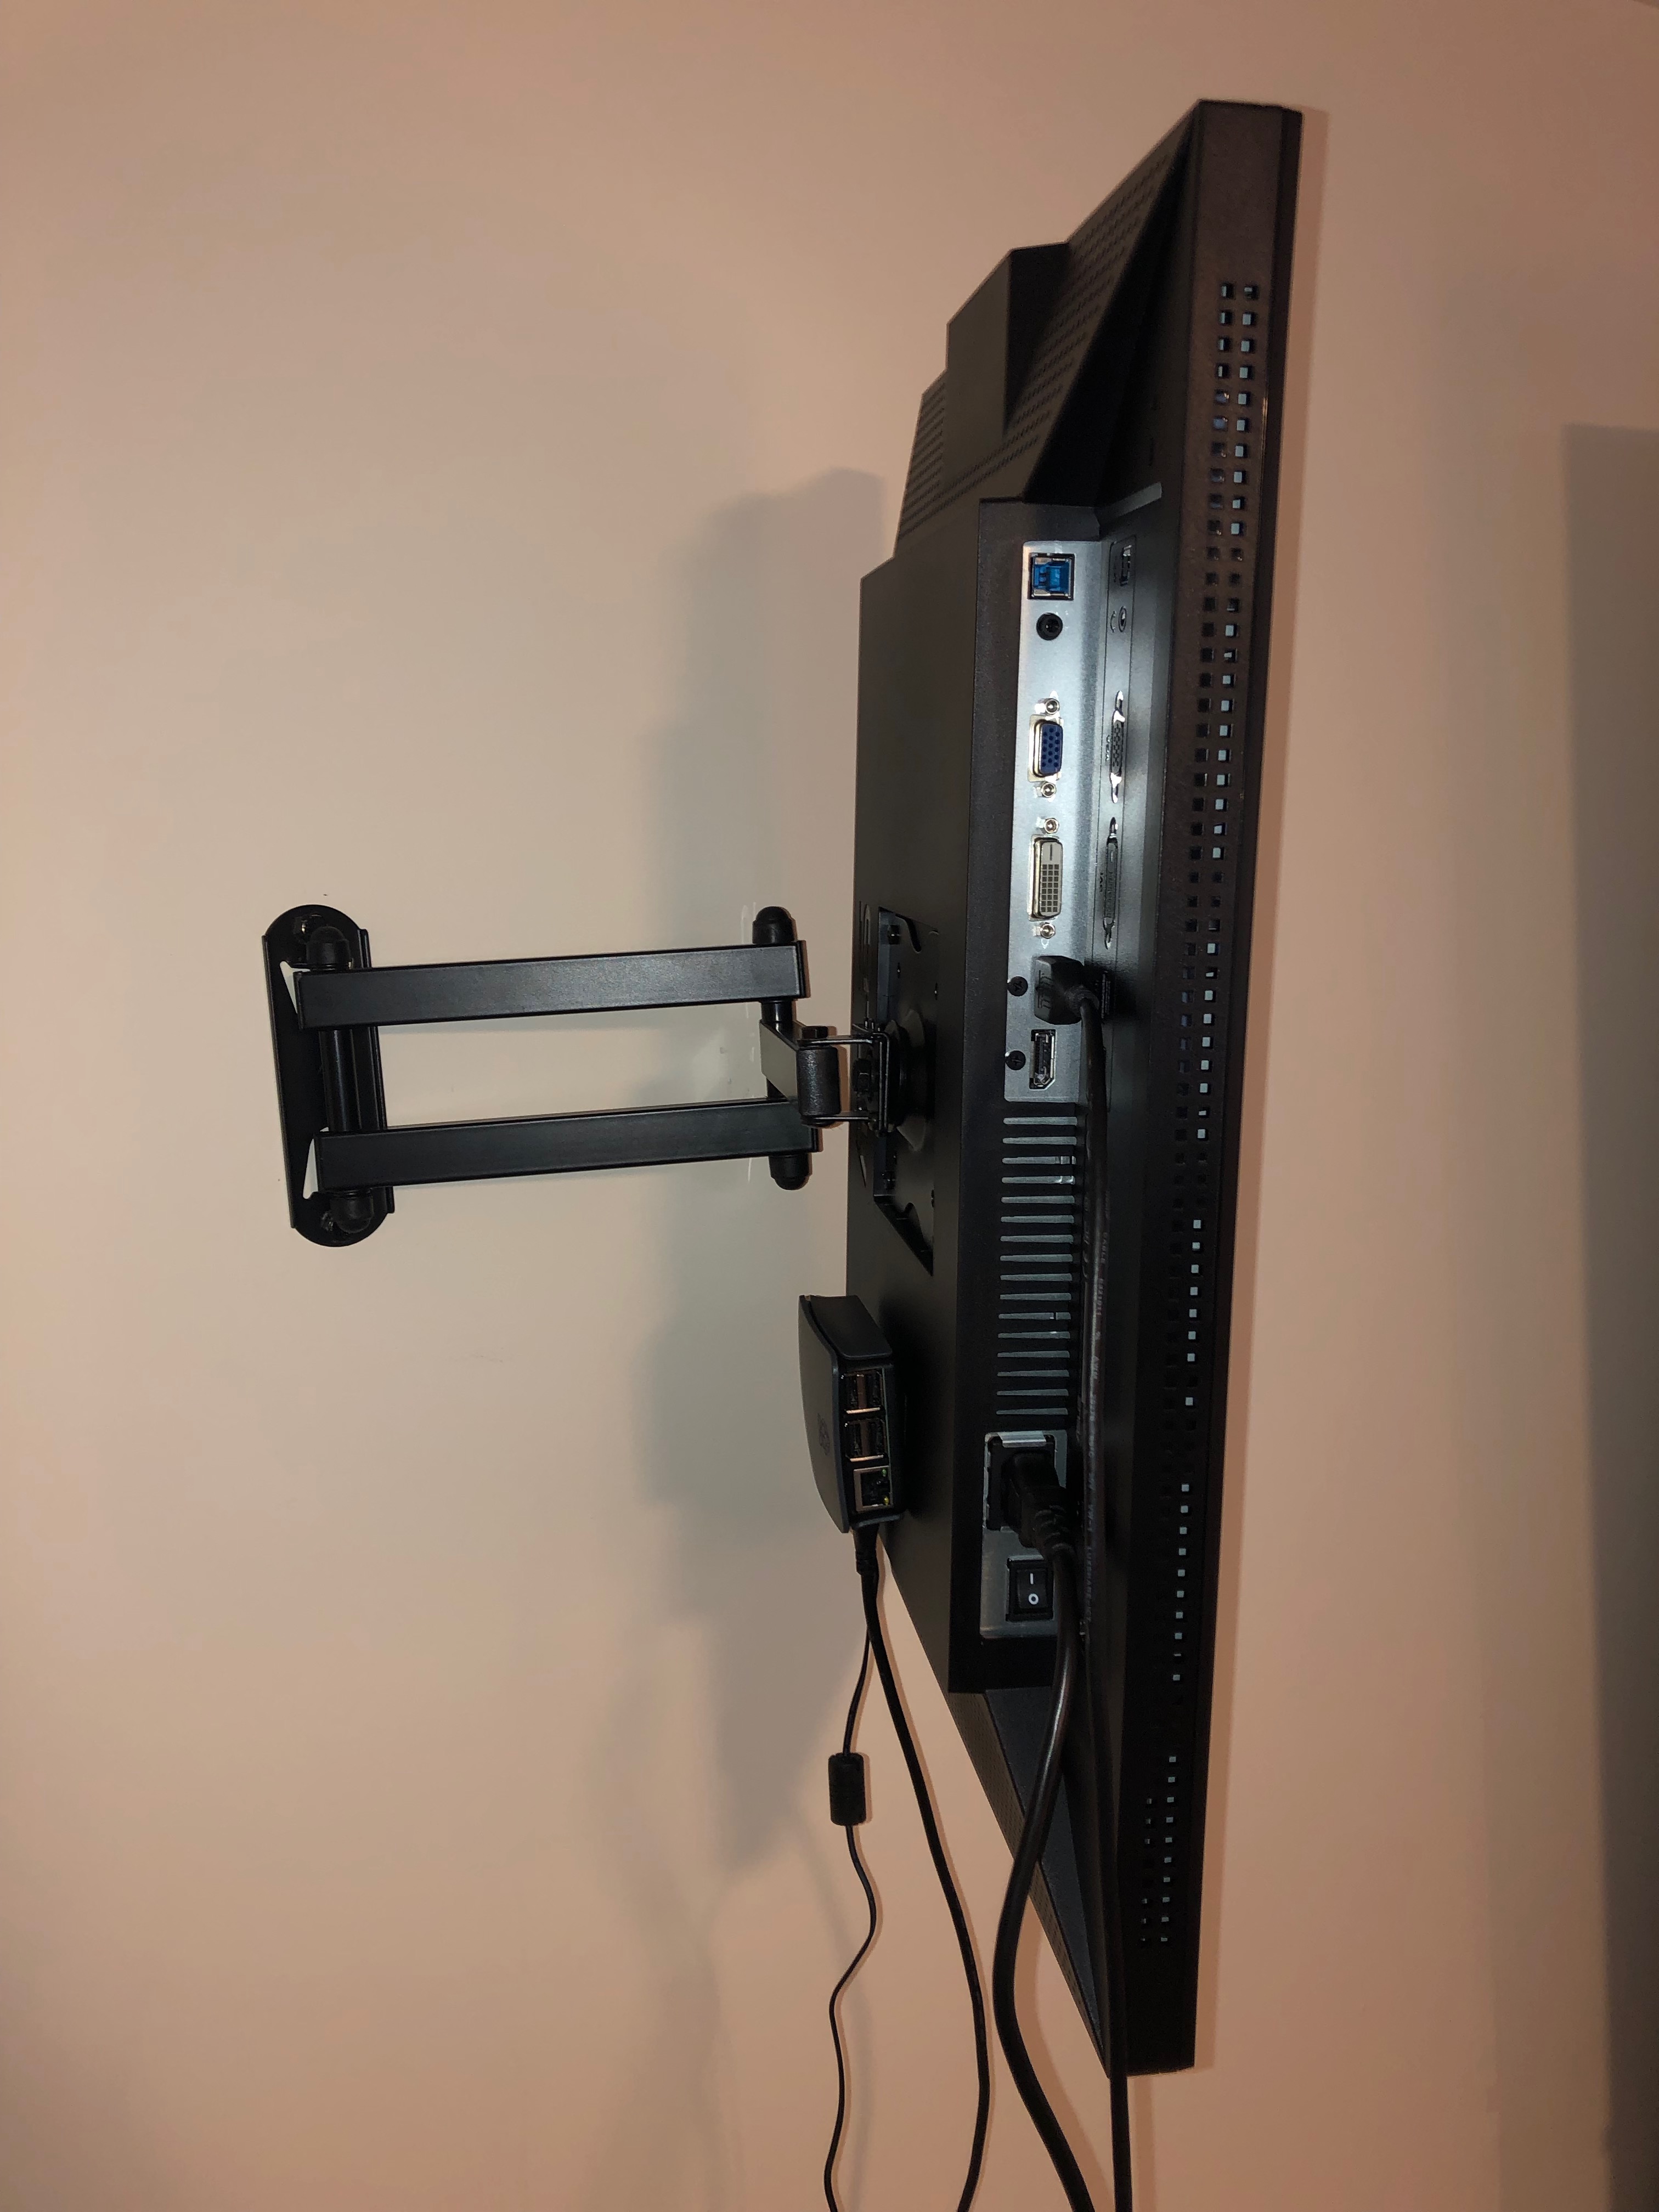
Wall Mount
- Mount the physical display on the wall by following the instructions included with the mount
- Attach the Raspberry Pi to the back of the display using velcro
- Plug in the HDMI cable and power adapter
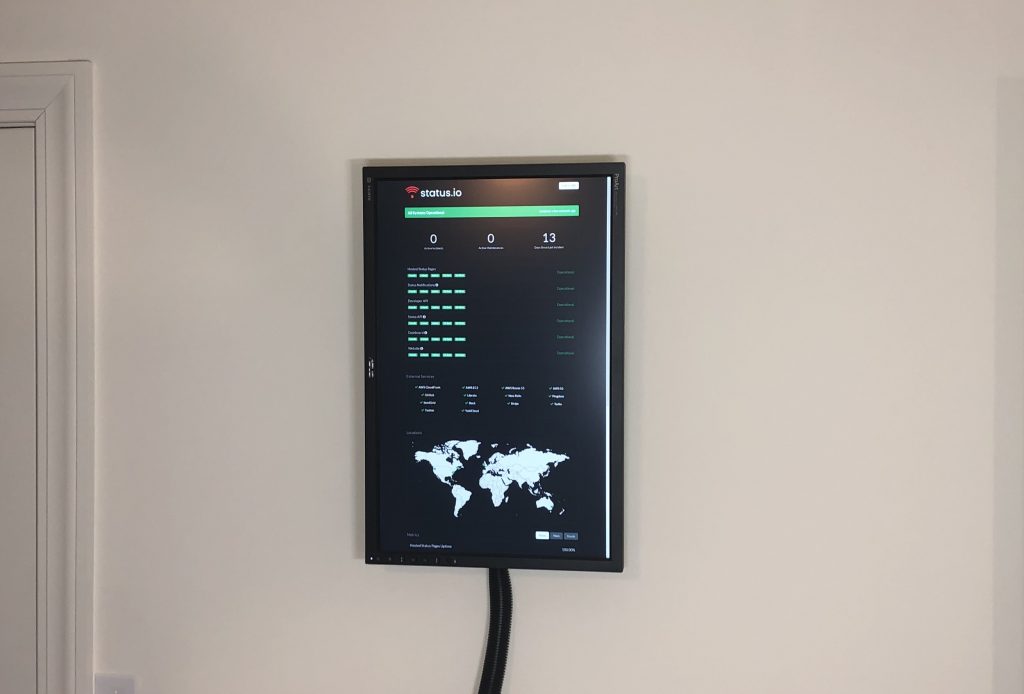
Finish Line
Enjoy the finished product. If you’re like us, you may will become addicted to these displays and proceed to put them everywhere. Rock on!
btw – We run a hosted status page service. Check it out at Status.io